
Cream Wafers
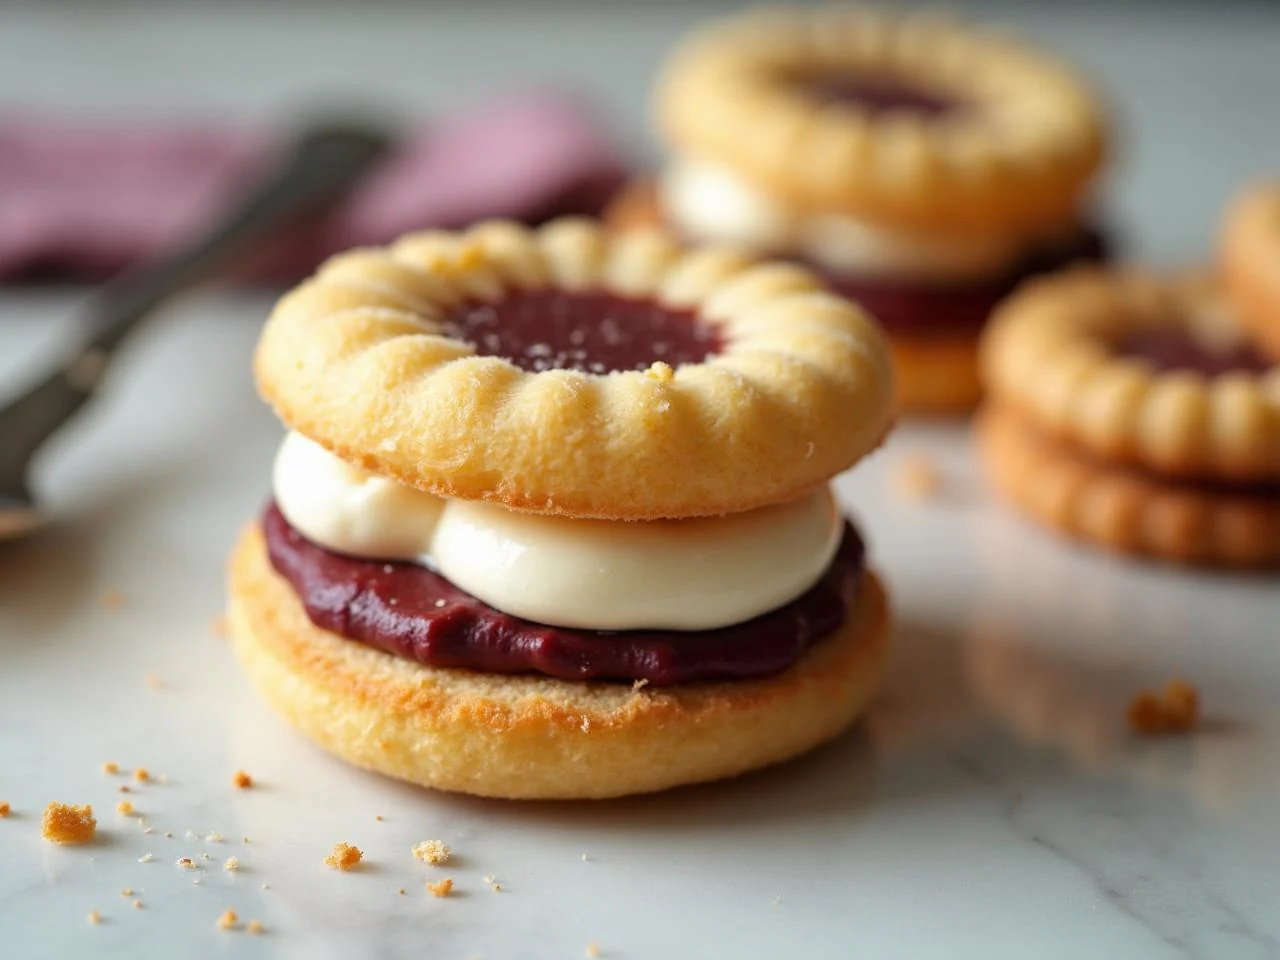
I still remember the first time I tasted a cream wafer - it was love at first bite. The delicate crunch of the wafer, the sweetness of the cream, it all just came together in perfect harmony. Since then, I've been on a mission to recreate that magic in my own kitchen. After countless trials and errors, I'm excited to share my recipe for cream wafers with you.
What makes this recipe special is the simplicity of its ingredients and the elegance of its presentation. It's a dessert that's perfect for any occasion, whether you're hosting a dinner party or just want to treat yourself to something sweet. The best part is, it's incredibly easy to make, and with a few simple tips and tricks, you'll be enjoying your very own homemade cream wafers in no time.
So, who is this recipe for? It's for anyone who loves desserts, but doesn't want to spend hours in the kitchen. It's for those who appreciate the beauty of simplicity and the joy of creating something from scratch. And, of course, it's for anyone who's ever been captivated by the allure of a perfectly crafted cream wafer.
As for when to make it, the answer is simple - anytime you want! Whether it's a special occasion or just a Tuesday, cream wafers are always a good idea. So go ahead, take a few minutes to read through this recipe, and get ready to indulge in the sweet, sweet joy of homemade cream wafers.
In the following pages, we'll dive into the world of cream wafers, exploring the techniques, ingredients, and tips that will help you create these delicious treats. From the importance of temperature control to the art of assembling the perfect wafer, we'll cover it all. So, let's get started and make some cream wafers!
Why You’ll Love This Recipe
- They're incredibly easy to make, requiring just a few simple ingredients and some basic kitchen equipment.
- The combination of crunchy wafers and creamy filling is absolutely irresistible.
- They're perfect for any occasion, whether you're hosting a dinner party or just want a sweet treat.
- The recipe is highly customizable, so you can experiment with different flavors and ingredients to create your own unique cream wafers.
- They're a great way to impress your friends and family with your baking skills, without having to spend hours in the kitchen.
- They're a delicious and elegant dessert that's sure to become a new favorite.
Why This Recipe Works
The key to making great cream wafers lies in the balance of ingredients and the technique used to bring them together. It's all about creating a delicate crunch on the outside and a soft, creamy interior. To achieve this, we'll be using a combination of all-purpose flour, confectioners' sugar, and unsalted butter, which will provide the structure and flavor we need.
Another important aspect of this recipe is the temperature control. We'll be using room-temperature butter and eggs to ensure an even emulsion, and chilling the dough to help the wafers retain their shape. This attention to detail will make all the difference in the final product.
Finally, the assembly of the wafers is where the magic happens. By carefully piping the cream onto the wafers and sandwiching them together, we'll create a delicate, lacy texture that's just perfect for biting into. It's a technique that requires a bit of practice, but trust me, it's worth it.
By following these simple steps and paying attention to the details, you'll be able to create cream wafers that are truly exceptional. So, let's get started and see how it's done!
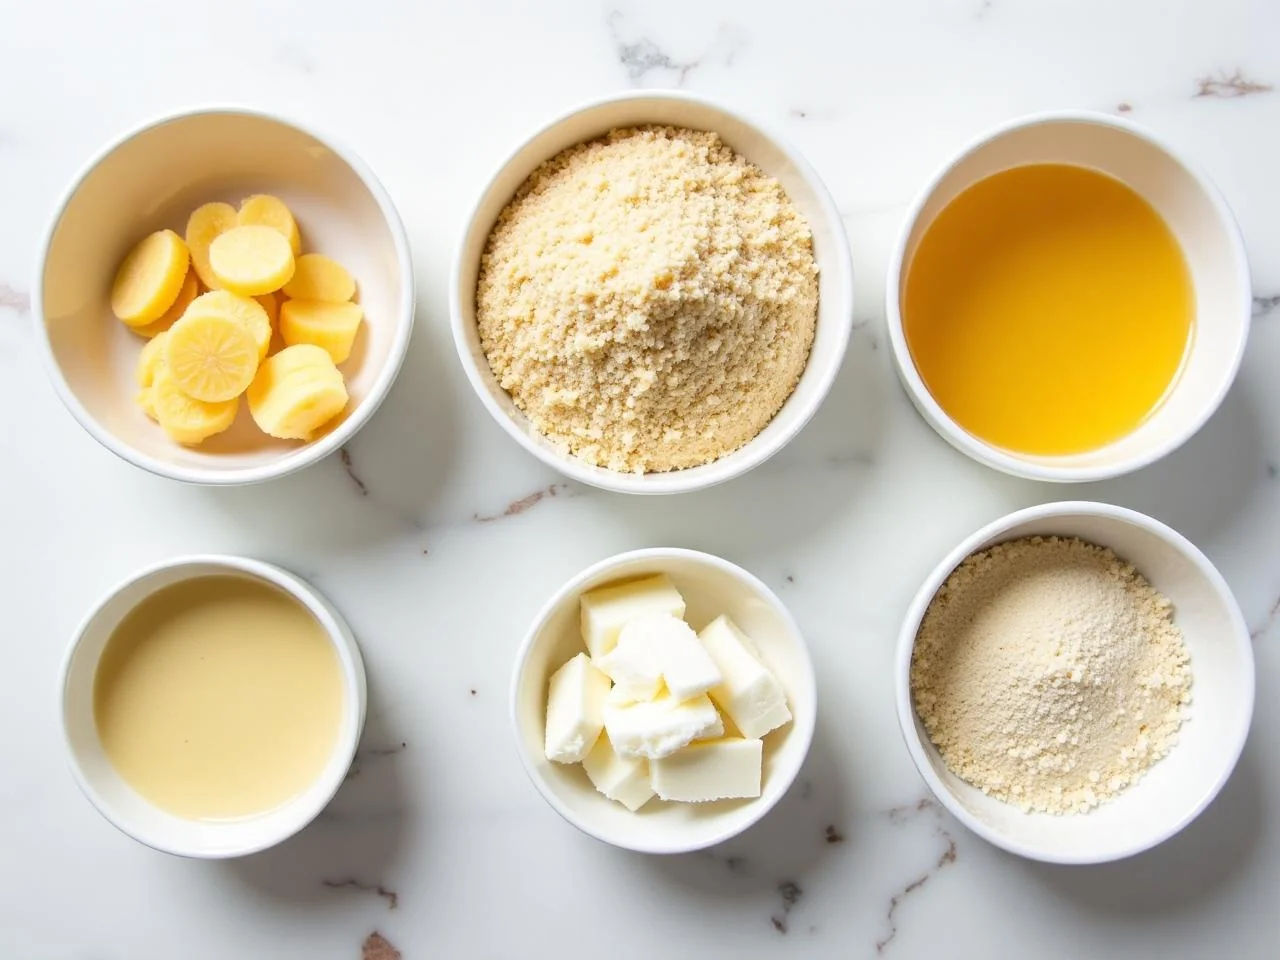
Ingredients You’ll Need
When it comes to making cream wafers, the ingredients are just as important as the technique. We'll be using a combination of all-purpose flour, confectioners' sugar, and unsalted butter to create the wafers, and heavy cream and granulated sugar to make the filling. It's a simple list of ingredients, but each one plays a crucial role in the final product.
As you're shopping for the ingredients, be sure to choose high-quality items that will help you achieve the best results. For example, use fresh and fragrant vanilla extract to give your cream wafers a deep and rich flavor. And, of course, don't forget to use room-temperature butter and eggs to ensure an even emulsion.
- 1 1/2 cups (190g) all-purpose flourAll-purpose flour provides the structure and texture we need for the wafers. Make sure to sift it before using to ensure it's well aerated and evenly mixed.
- 1/2 cup (60g) confectioners' sugarConfectioners' sugar adds a touch of sweetness and helps to balance out the flavor of the wafers. It's also important for creating a smooth and even texture.
- 1/4 teaspoon fine saltA small amount of salt enhances the flavor of the wafers and helps to balance out the sweetness. Use a fine salt, such as table salt or sea salt, for the best results.
- 1/2 cup (115g) unsalted butter, softenedUnsalted butter is essential for creating a delicate and crispy wafer. Make sure to use room-temperature butter for the best results.
- 1 large egg, at room temperatureThe egg helps to bind the ingredients together and adds moisture to the wafers. Use a room-temperature egg to ensure an even emulsion.
- 1 teaspoon pure vanilla extractVanilla extract adds a deep and rich flavor to the wafers. Use a high-quality extract for the best results.
- 1 cup (240ml) heavy creamHeavy cream is essential for creating a smooth and creamy filling. Make sure to use fresh and high-quality cream for the best results.
- 2 tablespoons granulated sugarGranulated sugar adds a touch of sweetness to the filling and helps to balance out the flavor. Use a fine sugar, such as granulated sugar or superfine sugar, for the best results.
- 1/4 teaspoon kosher saltA small amount of salt enhances the flavor of the filling and helps to balance out the sweetness. Use a kosher salt or a flaky sea salt for the best results.
- 1/2 teaspoon vanilla extractVanilla extract adds a deep and rich flavor to the filling. Use a high-quality extract for the best results.
Equipment You’ll Need
How to Make Cream Wafers
- 1Preheat the oven to 375°F (190°C) and line a baking sheet with parchment paper.
- 2In a large mixing bowl, whisk together the flour, confectioners' sugar, and salt.
- 3Add the softened butter to the dry ingredients and mix until the mixture resembles coarse crumbs.
- 4In a separate bowl, whisk together the egg and vanilla extract.
- 5Add the egg mixture to the dry ingredients and mix until a dough forms.
- 6Wrap the dough in plastic wrap and chill for at least 30 minutes.
- 7On a lightly floured surface, roll out the dough to a thickness of about 1/8 inch (3mm).
- 8Use a cookie cutter or a glass to cut out the wafers.
- 9Place the wafers on the prepared baking sheet and bake for 15-20 minutes, or until they're lightly golden brown.
- 10Allow the wafers to cool on the baking sheet for 5 minutes, then transfer them to a wire rack to cool completely.
- 11To make the filling, whip the heavy cream and granulated sugar until stiff peaks form.
- 12Add the kosher salt and vanilla extract to the whipped cream and mix until combined.
- 13To assemble the cream wafers, place a small dollop of whipped cream on one half of a wafer, then top with another wafer.
- 14Serve the cream wafers immediately, or store them in an airtight container in the refrigerator for up to 24 hours.
Expert Tips
- Make sure to use room-temperature butter and eggs for the best results.
- Don't overmix the dough, as this can lead to tough wafers.
- Use a high-quality vanilla extract for the best flavor.
- Don't overbake the wafers, as this can make them dry and crumbly.
- Experiment with different flavors, such as adding a pinch of salt or a teaspoon of cinnamon to the dough.
- Use a piping bag and tip to create a decorative border on the wafers.
- Store the cream wafers in an airtight container in the refrigerator to keep them fresh.
Common Mistakes to Avoid
- Overmixing the dough, which can lead to tough wafers.
- Not chilling the dough long enough, which can cause the wafers to spread too much during baking.
- Overbaking the wafers, which can make them dry and crumbly.
- Not using room-temperature butter and eggs, which can affect the texture and flavor of the wafers.
- Not whipping the cream long enough, which can result in a filling that's too runny.
- Not assembling the cream wafers immediately, which can cause the wafers to become soggy.
Variations and Substitutions
- Add a pinch of salt to the dough for a savory twist.
- Use a different flavor extract, such as almond or coconut, for a unique twist.
- Add a teaspoon of cinnamon or nutmeg to the dough for a warm and spicy flavor.
- Use a different type of sugar, such as brown sugar or turbinado sugar, for a slightly different flavor.
- Add a handful of chopped nuts or chocolate chips to the dough for added texture and flavor.
- Use a different type of cream, such as whipped cream or mascarpone, for a lighter or richer filling.
What to Serve With Cream Wafers
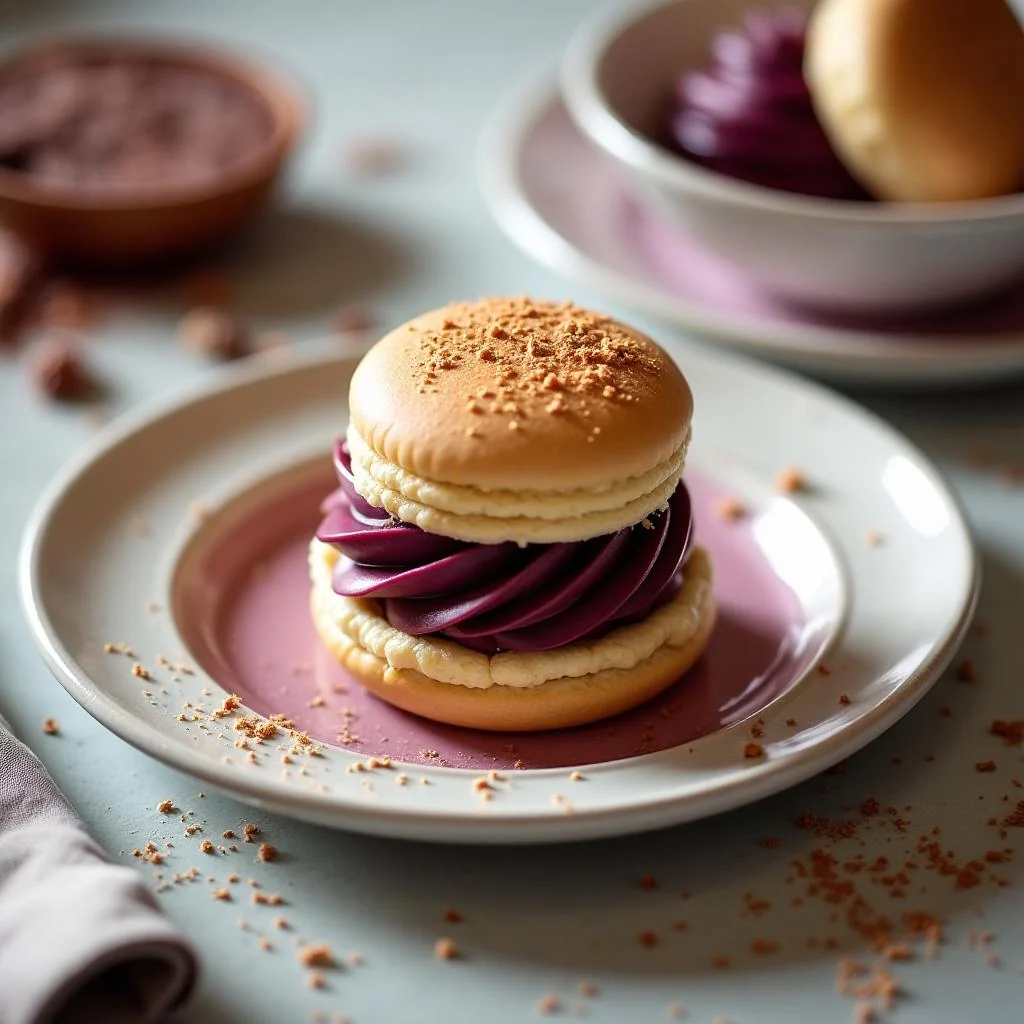
Cream wafers are a delicious and elegant dessert that can be served on their own or paired with a variety of other treats. Try serving them with a scoop of ice cream, a drizzle of chocolate sauce, or a sprinkle of powdered sugar. You can also use them as a base for other desserts, such as a cream wafer cake or a wafer sundae.
For a more elegant presentation, consider serving the cream wafers on a decorative plate or platter. You can also garnish them with fresh fruit, such as strawberries or blueberries, for a pop of color and added flavor.
Make-Ahead, Storage, Freezing and Reheating
Cream wafers are best served fresh, but they can be stored in an airtight container in the refrigerator for up to 24 hours. To store them, simply place the wafers in a single layer in the container and cover them with plastic wrap or aluminum foil.
If you want to make the cream wafers ahead of time, you can store the dough in the refrigerator for up to 2 days or freeze it for up to 2 months. To freeze the dough, simply wrap it in plastic wrap or aluminum foil and place it in a freezer-safe bag.
To assemble the cream wafers, simply thaw the frozen dough or remove it from the refrigerator and let it come to room temperature. Then, follow the instructions for baking and assembling the wafers.
It's also important to note that the cream wafers are best served at room temperature. If you're storing them in the refrigerator, be sure to let them come to room temperature before serving. This will help to ensure that the wafers are crispy and the filling is creamy and smooth.
Frequently Asked Questions
What type of flour is best for making cream wafers?
All-purpose flour is the best type of flour to use for making cream wafers. It provides the structure and texture we need for the wafers, and it's easy to find in most grocery stores.
Can I use a different type of sugar for the filling?
Yes, you can use a different type of sugar for the filling. Granulated sugar is the most common type of sugar used, but you can also use brown sugar, turbinado sugar, or even honey for a slightly different flavor.
How do I store the cream wafers?
Cream wafers are best stored in an airtight container in the refrigerator for up to 24 hours. You can also freeze the dough for up to 2 months and thaw it when you're ready to bake the wafers.
Can I make the cream wafers ahead of time?
Yes, you can make the cream wafers ahead of time. Simply store the dough in the refrigerator for up to 2 days or freeze it for up to 2 months. Then, follow the instructions for baking and assembling the wafers when you're ready to serve them.
What type of cream is best for the filling?
Heavy cream is the best type of cream to use for the filling. It provides a rich and creamy texture that's perfect for the wafers.
Can I use a different flavor extract for the filling?
Yes, you can use a different flavor extract for the filling. Vanilla extract is the most common type of extract used, but you can also use almond extract, coconut extract, or even lemon extract for a unique twist.
How do I assemble the cream wafers?
To assemble the cream wafers, simply place a small dollop of whipped cream on one half of a wafer, then top with another wafer. You can also use a piping bag and tip to create a decorative border on the wafers.
Can I use a different type of wafer for the cream wafers?
Yes, you can use a different type of wafer for the cream wafers. However, keep in mind that the type of wafer you use will affect the flavor and texture of the final product. For example, using a chocolate wafer will give the cream wafers a richer and more decadent flavor.
Ingredients
- 1 1/2 cups (190g) all-purpose flour
- 1/2 cup (60g) confectioners' sugar
- 1/4 teaspoon fine salt
- 1/2 cup (115g) unsalted butter, softened
- 1 large egg, at room temperature
- 1 teaspoon pure vanilla extract
- 1 cup (240ml) heavy cream
- 2 tablespoons granulated sugar
- 1/4 teaspoon kosher salt
- 1/2 teaspoon vanilla extract
Instructions
- Preheat the oven to 375°F (190°C) and line a baking sheet with parchment paper.
- In a large mixing bowl, whisk together the flour, confectioners' sugar, and salt.
- Add the softened butter to the dry ingredients and mix until the mixture resembles coarse crumbs.
- In a separate bowl, whisk together the egg and vanilla extract.
- Add the egg mixture to the dry ingredients and mix until a dough forms.
- Wrap the dough in plastic wrap and chill for at least 30 minutes.
- On a lightly floured surface, roll out the dough to a thickness of about 1/8 inch (3mm).
- Use a cookie cutter or a glass to cut out the wafers.
- Place the wafers on the prepared baking sheet and bake for 15-20 minutes, or until they're lightly golden brown.
- Allow the wafers to cool on the baking sheet for 5 minutes, then transfer them to a wire rack to cool completely.
- To make the filling, whip the heavy cream and granulated sugar until stiff peaks form.
- Add the kosher salt and vanilla extract to the whipped cream and mix until combined.
- To assemble the cream wafers, place a small dollop of whipped cream on one half of a wafer, then top with another wafer.
- Serve the cream wafers immediately, or store them in an airtight container in the refrigerator for up to 24 hours.